How to make bootable Pendrive using android phone | Solved
If Are you searching for how to make a bootable Pendrive using an android phone, then this post is definitely for you.
Creating a bootable USB or Pendrive using a PC is easy but what if your PC is not working & you don’t have another laptop or PC?
You might think it a difficult or impossible task to do without another PC.
This is a modern era so everything has a solution. This is not a situation of panic because we have an easy solution for that.
Related:

How to make bootable USB or Pendrive for Windows 10, Linux, and Mac
How to make a bootable Pendrive using an android phone
It might be a very useful method to make a bootable Pendrive using an android phone Because your one PC’s OS has stopped working and you don’t have another pc to create a bootable USB.
Therefore, the Android smartphone is the best solution to when you don’t have another pc to create a bootable USB and install an operating system on your PC using that Pendrive.
So, let’s see what requirements you will need to make a bootable Pendrive using an android phone.
Required Software:
- Download ISO 2 USB application from the play store.
- Download the ISO file of the operating system you want to install
Required Tools:
- 8GB USB drive for creating a bootable Pendrive
- OTG Cable to connect USB with android Phone.
Steps to Make a Bootable Pendrive using Android Phone
You can use this easy and proven method to make a bootable pen drive using an android phone.
Here I have summarised the important steps to make a bootable pen drive using an android phone.
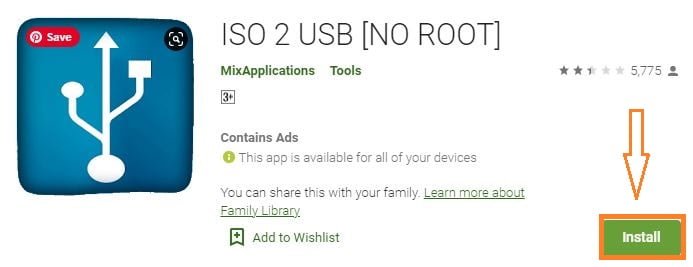
First of all, Open your android phone and then Go to Play Store and search for ISO 2 USB [No Root].
Also, you can simply click this link ISO 2 USB [No Root] to download and install it.
What is ISO 2 USB [NO ROOT]
ISO 2 USB is the 1st and most popular application to make a bootable Pendrive using Android phones.
Why it is Popular?
- Easy burn ISO Files To USB Stick (Pin Drive) without root
- Simple UI and user friendly
- No need to learn and understand more
- supports almost all android phone which supports OTG.

Step 2: Connect USB to Android
When you finish installing the ISO 2 USB app, next you can connect your Pendrive to an android phone using an OTG Cable Connector.
You Can Buy the Best Quality OTG Connector at Amazon.com Below I have listed the Very Useful & Quality cables.
The Cheap cable which you buy from another shop may not start for a long time so you better buy these OTG cables for your convenience.
OTG Cables for micro USB Type Connector
- Male Micro USB to USB A-Female, EVISTR USB 2.0
- Male Micro USB to USB A- Female 2 Pack 6.6FT (Nylon Material)
OTG Cables for USB C Type Connectors
Once you purchase the OTG cable, connect your Pendrive to your Android phone using OTG Cable Connector.
Note:- But before doing all these steps, YOu better check wheather your Phone Supports OTG Cable Function.
Once you have connected OTG to your phone along with the Pendrive,
- open ISO 2 USB application to make your bootable USB
- and check whether the USB is connected properly or not. to confirm the connection you can go to the File Manager where you will find the connected Pendrive.
Step 4: Select Pendrive and Windows ISO File
Once the USB 2 App is open you will find 2 things there.
- Pick USB Pen Drive: Here you will select the Pendrive which you are going to make bootable.
- Pick ISO File: Here you will select the Windows ISO ( Windows 10, 7, 8) files.
So, First, select the Pendrive by clicking Pick USB Pin Drive. After that click the Pick ISO file for selecting the Windows ISO ( you can find the ISo file in the file manager when you have downloaded and stored it).
Step 5: Make a bootable Pendrive using Android Phone
Once you have successfully selected the USB Drive and ISo file you have to select the format USB Driver. This is necessary because before converting ISO to bootable USB, you first need to create a clean partition and format the USB drive.
Now every selection process is completed so you can click the start button to start the bootable Process.
After clicking the Start the bootable creation process started but you have to be patient after that because it will take about 10 – 15 minutes to make the Pendrive bootable.
Finally, after 10- 15min, you will see the 100% done message on the Screen. It indicates you have successfully created the bootable pen drive using an android phone.
Now you can unplug the USB from OTG and be ready for booting your windows machine. If you want to know how you can install windows 10 using USB you can refer to this article.
How to install windows 10 using bootable pendrive
Final Thoughts
Finally, I’m fully convinced that you have successfully learned the session on ” How to make a bootable Pendrive using Android Phone “.
I have tried to cover all the steps clearly at your convenience. If you want some modification you leave the comment below so that this article can be more relevant to your query and easy to read and understand.
If you also want to learn how to make a bootable Pendrive using a PC or laptop you can read this article :
How to make bootable USB or Pendrive for Windows 10, Linux, and Mac
